Power tools are the foundation of many DIY projects and professional jobs. But like any tool, they need proper maintenance to keep performing at their best and to extend their lifespan. In this article, we’ll walk you through the steps to clean and maintain your power tools.
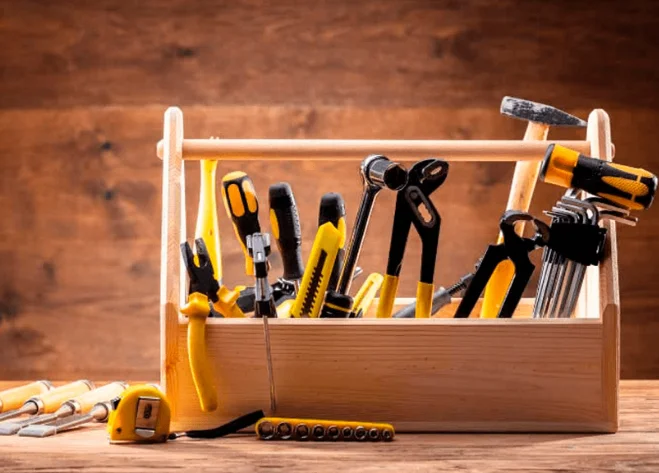
Tools You’ll Need for Cleaning Power Tools

To clean your power tools effectively, you’ll need the following cleaning tools:
- Soft Cloths or Rags: For wiping down surfaces and removing dust.
- Non-Toxic Cleaner or Degreaser: A cleaner that effectively breaks down grease and dirt without damaging the tool.
- Brushes (Soft and Hard Bristles): Soft brushes are great for cleaning delicate parts, while hard bristle brushes handle stubborn dirt.
- Compressed Air (or Air Canister): Perfect for blowing out dust and debris from hard-to-reach areas inside the tool.
- Lubricants: Used to lubricate moving parts and metal components, preventing rust and ensuring smooth operation.
- Cotton Swabs and Toothpicks: Ideal for cleaning small, hard-to-reach areas like vents and switches.
- Protective Gloves and Safety Glasses: Safety first! Always wear these when cleaning your power tools.
When selecting a cleaner, avoid harsh chemicals that could damage sensitive parts of your tools. Choose a mild yet effective cleaner to help prolong the life of your equipment.
Power Tool Cleaning Step-by-Step Guide
If you have your cleaning tools and materials ready, let’s dive into the next steps for cleaning.
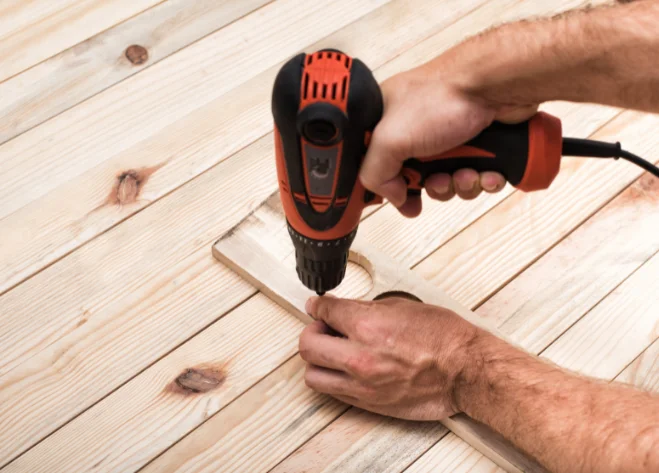
Ensure the Tool is Powered Off and Remove the Battery
Before cleaning, make sure the power tool is turned off and unplugged. For cordless tools, remove the battery. This is the most basic safety measure to prevent the tool from accidentally starting or posing an electric shock risk.
Remove Surface Dust and Stains
Use a vacuum cleaner or compressed air to clear dust and debris from the surface of the tool. Pay special attention to the vents and hard-to-reach areas, as these can easily accumulate dust.
When using compressed air, maintain a safe distance from the motor and electrical components to avoid blowing dust into the tool, which could affect performance.
For stubborn grease or stains, gently wipe with a soft cloth dampened with a small amount of cleaner.
Clean Metal Parts
For metal parts like gears, use a wire brush or steel wool to gently remove rust and dirt. When cleaning, be careful not to let too much moisture get into the tool, as it could damage the electrical components. Use a dry cloth or carefully angle the tool to prevent moisture from getting inside.
If rust persists after cleaning, consider using a degreaser or citrus-based cleaner to remove stubborn stains.
Clean the Tool’s Interior
For small crevices and vents, use a toothpick or cotton swab to gently clean.
If your tool has removable parts (such as filters), take them out and clean them to ensure every component is thoroughly cleaned.
Lubricate and Prevent Corrosion
After cleaning the metal parts, apply a thin layer of lubricant (such as WD-40) to prevent rust.
Avoid over-applying the lubricant, as excess can attract dust and debris.
Ensure that all moving parts, such as gears and bearings, are properly lubricated to prevent excessive wear and tear.
Clean the Power Cord
Wipe the power cord gently with a damp cloth, and use a dry cloth to clean the plug and connector areas to ensure they are free from dust or dirt. This will help prevent electrical malfunctions.
Inspect the battery and power cord for signs of wear or damage. If you notice any issues, replace them promptly to avoid affecting the tool’s performance and safety.
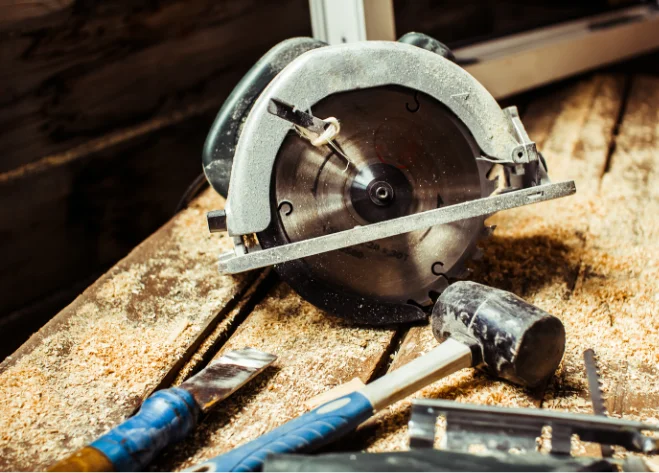
Clean and Maintain Drill Bits and Blades
For cleaning drill bits and blades, avoid using wire brushes (like soft steel or brass brushes) as they may damage the surfaces.
Instead, use a specialized cleaner to soften stubborn materials like resin or tar. Soak the drill bits or blades in the cleaner for about 10 minutes, then gently wipe with a soft cloth or soft brush.

Regularly Inspect and Replace Parts
Regularly check all moving parts (such as gears, screws, etc.) to ensure they are secure and not loose or worn. Pay particular attention to parts that are prone to wear, such as blades and saw teeth. If these parts show significant wear, replace them in a timely manner.
learn more: What Is the Best Power Tool Brand
Summary
After cleaning your power tools, make sure to store them in a dry, cool place, away from moisture and dust, to extend their lifespan. The best way to store tools is in a toolbox or tool cabinet, which helps protect them from external damage and keeps them organized and easy to access.
If you’re looking for more high-quality power tools, visit Kafuwell to explore our wide range of products. Whether for home repairs or professional projects, the tools we offer are designed to meet all your needs and help you get the job done right.