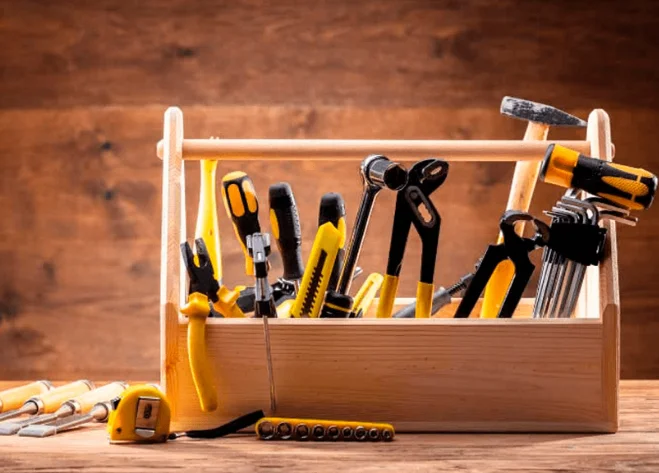
A drill machine is an essential tool in every toolbox, thanks to its versatility and efficiency. However, knowing how to use it properly is just as important as owning one. This article will guide you through how to effectively use a drill machine, along with key tips and precautions to keep in mind.
Precautions Before Using a Drill Machine
Before you start using a drill machine, ensuring safety should be your top priority.
Protective Gear and Clothing Requirements
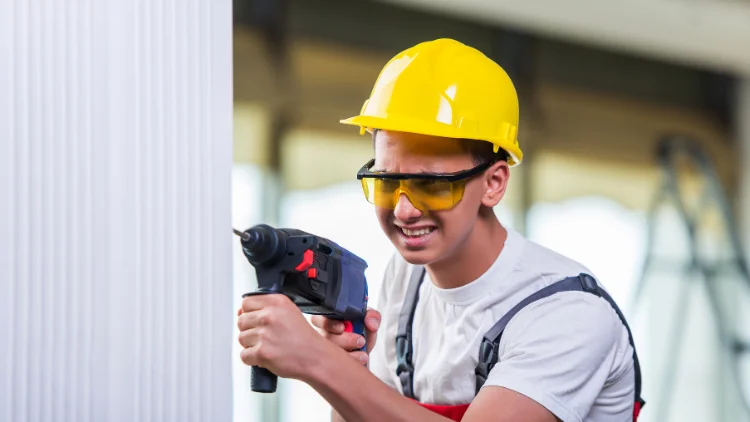
The first step in safety is wearing the proper protective gear. Always wear safety goggles to protect your eyes from debris, dust, or flying particles. If you’re working in a noisy environment, ear protection is essential. Additionally, drilling often produces fine dust, so wearing a dust mask will protect your lungs from harmful particles.
Also, be mindful of your clothing. Avoid wearing loose clothes, scarves, or jewelry, as they could get caught in the drill or other equipment, leading to safety risks. Wearing sturdy work gloves will protect your hands, especially when handling materials or tools that could cause slipping.
A Clean and Well-Lit Workspace
A tidy, clean, and well-lit workspace is the foundation of safe operation. A cluttered environment or poor lighting can significantly increase the risk of accidents. Many modern drill machines come with built-in LED lights, offering improved visibility and reducing the chances of mistakes due to insufficient lighting.
Securing Materials
Before you begin drilling, make sure the material you’re working with is securely fastened. Whether it’s wood, metal, or plastic, ensure that the material won’t shift while drilling. This is key for both safety and precision.
Understanding Your Drill Machine
Now that you’re ready for safe operation, it’s important to understand your drill machine itself. Familiarizing yourself with the key components will help you use it more effectively and maximize its performance.
Chuck: The chuck is the part of the drill machine that holds and secures the drill bit. Most drill machines come with a keyless chuck, allowing you to tighten or loosen the chuck by hand. This feature makes swapping out drill bits quick and easy.
Handle: The handle provides the grip and control you need to operate the drill machine. Make sure you hold the drill machine firmly, using both hands when necessary, to maintain stability and precision while drilling.
Trigger: The trigger controls the power of the drill. Pressing the trigger activates the drill, and the pressure you apply will determine the speed at which the drill operates.
Speed Control: Some drill machines come with adjustable speed settings. Higher speeds are ideal for softer materials, while lower speeds are better for tougher surfaces, helping prevent the drill bit from overheating or damaging the material.
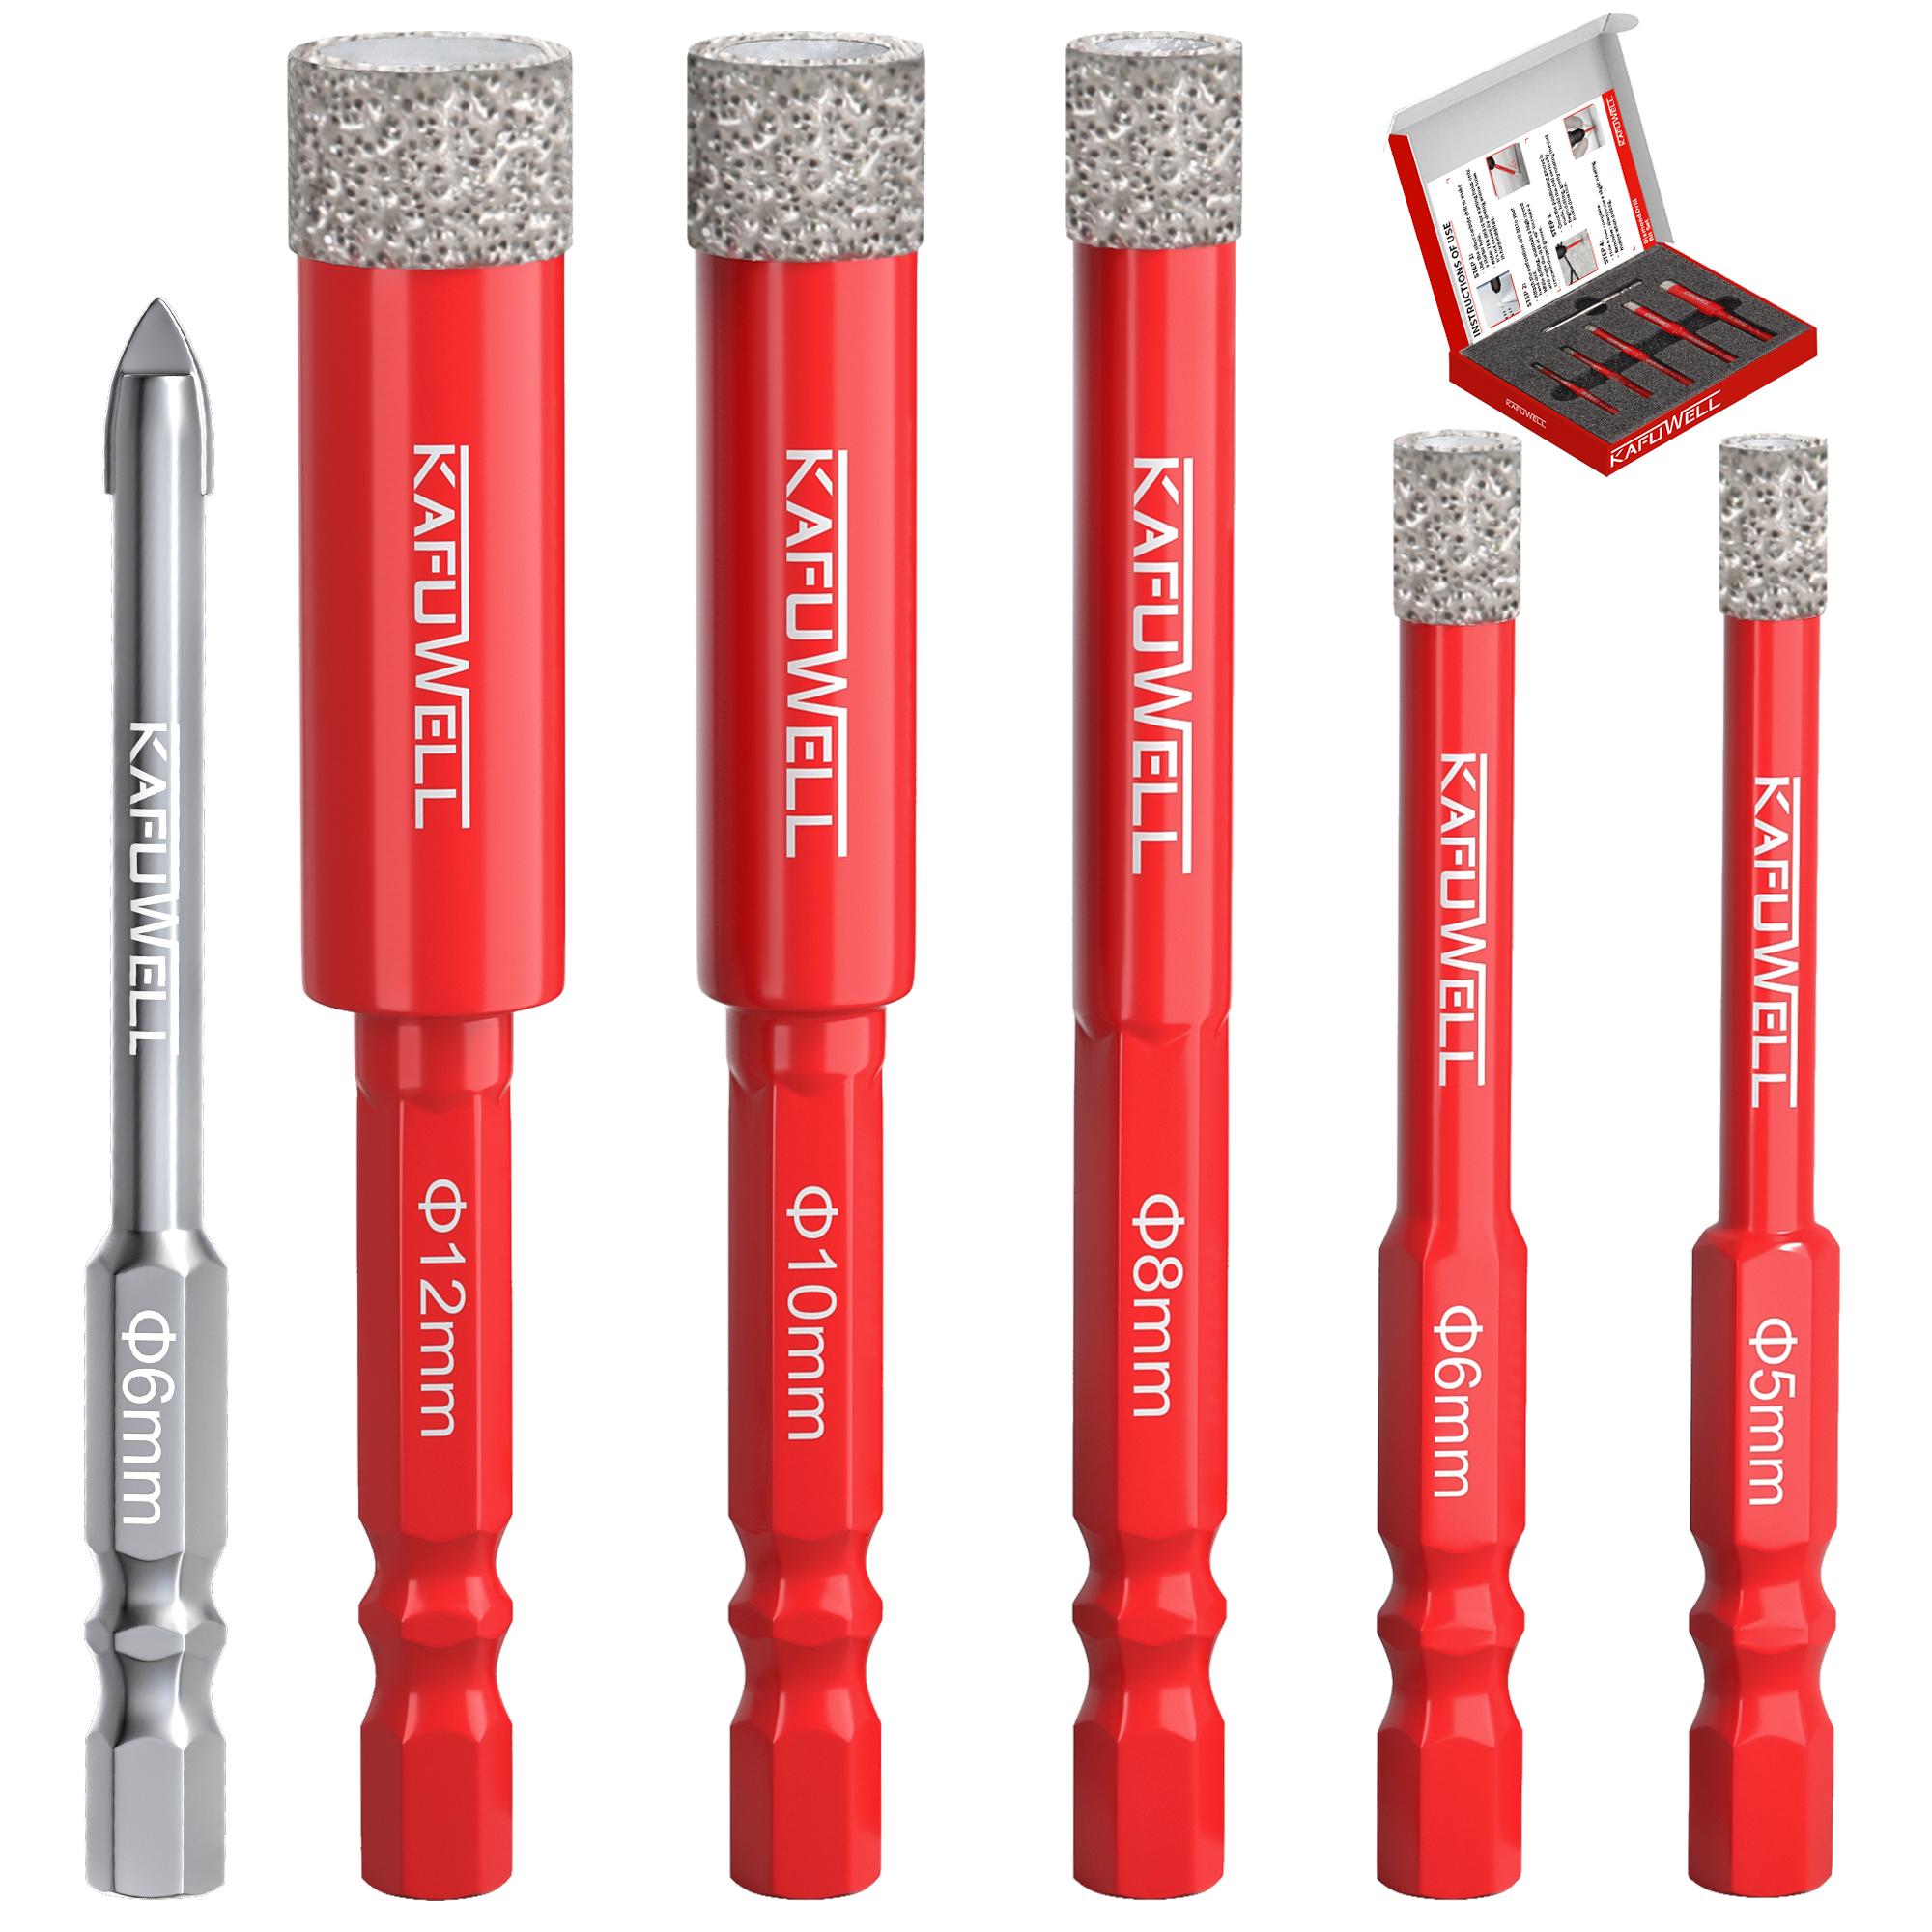
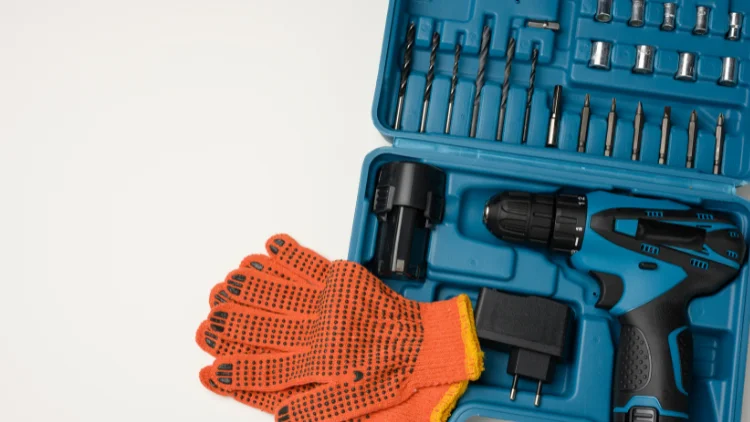
Choosing the Right Drill Bit
The drill bit is one of the most important accessories when using a drill machine. Selecting the right bit can significantly affect both the efficiency of your work and the quality of the final result.
Wood Drill Bits: Twist drill bits with sharp tips are ideal for wood. Their spiral design helps to quickly remove material, ensuring clean and precise holes. These bits are perfect for tasks like furniture assembly or woodworking projects.
Metal Drill Bits: For drilling into metals, High-Speed Steel (HSS) bits are the best choice. They are durable and can withstand the heat generated during high-speed drilling, making them suitable for tougher metal materials. Whether you’re working with aluminum, steel, or other metals, these bits deliver reliable results.
Concrete Drill Bits: Masonry bits, often fitted with carbide tips, are designed for drilling into concrete, brick, or stone. These bits are more durable and resistant to wear, making them ideal for construction projects or home improvement tasks that involve hard surfaces.
Plastic Drill Bits: Standard twist drill bits work for plastic, but it’s essential to ensure they’re sharp enough to avoid melting or cracking the material. Choose bits specifically designed for plastics to ensure smooth, clean drilling without damaging the material.
Selecting a Drill Bit Based on Material
When choosing a drill bit, always consider the material you’re drilling into. Using the wrong drill bit can lead to poor results, such as cracks, overheating, or even damage to the bit itself. If you’re unsure, it’s safer to opt for a high-quality bit designed specifically for the material you’re working with. This will ensure both longevity and the best performance for your project.
Setting Up Your Drill Machine
Before you begin drilling, ensuring that both your workspace and drill machine are properly set up can make a huge difference. With the right preparation, you’ll achieve clean, precise holes every time.
Marking the Drill Location
The first step in any drilling project is to determine the exact spot for the hole. Use a pencil, marker, or center punch to clearly mark the drilling point. For larger materials or walls, a center punch is especially useful. It leaves a small indentation that prevents the drill bit from slipping when you start drilling.
Adjusting Depth and Speed
Many drills allow you to set the drilling depth, which is crucial for precision tasks. You can wrap a piece of tape around the drill bit as a visual guide for the desired depth.
Adjust the speed settings based on the material you’re working with—lower speeds are ideal for tougher materials like metal or stone, while higher speeds are better for softer materials like wood. Correctly adjusting the speed prevents overheating, ensures clean holes, and extends the life of both the drill and the bits.
Step-by-Step Drilling Guide
Once everything is set up, you can start drilling. Following the right technique will help you work efficiently and avoid accidents or wasted time.
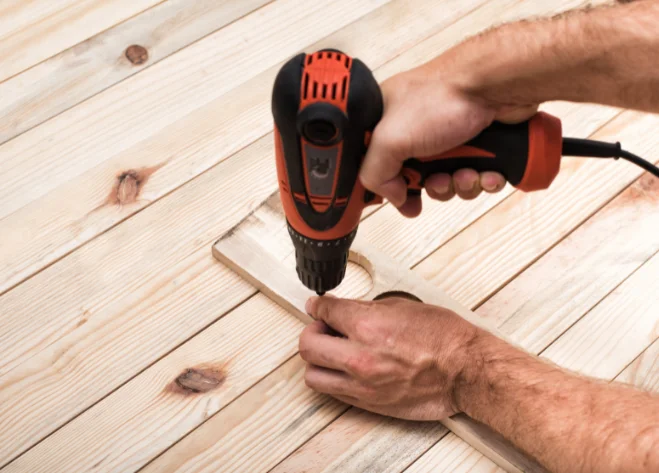
Insert the Drill Bit: First, make sure your drill machine is turned off. Insert the correct drill bit into the chuck and make sure it’s tightly secured before proceeding.
Position the Drill: Hold the drill machine firmly and ensure that the tip of the drill bit is aligned with the marked spot. For larger projects, use a level to make sure the drill is perfectly vertical.
Start Drilling: Gradually squeeze the trigger to begin drilling. Start with light pressure and allow the drill to work through the material. Applying too much pressure can cause the drill bit to overheat, wear out faster, or damage the material.
Maintain Steady Pressure: Keep an even and consistent pressure as you drill. Don’t rush—let the drill bit do the work. If you feel resistance, pause and let the bit cool down before continuing.
Withdraw the Bit: Once you’ve reached the desired depth, release the trigger and wait for the drill bit to stop spinning. Gently pull the drill out of the hole to avoid damaging the edges of the hole.
How to Use a Drill to Drive Screws
Using a drill as a screwdriver is simple and effective. Just replace the drill bit with the appropriate screwdriver bit (e.g., Phillips, flathead, etc.). Most modern drills come with adjustable torque settings. Set the drill to a low speed, as high-speed rotation can damage both the screws and the material. A slow and steady speed is key.
If you’re working with soft materials like cork or drywall, opt for a lower torque setting. For harder materials, increase the torque to ensure the screw is driven in securely without damaging the surface.

Advanced Drilling Techniques
Once you’ve mastered the basics of drilling and screwing, it’s time to delve into more advanced techniques that can elevate your DIY projects or professional work.
Chamfering and Reaming Explained
Chamfering and reaming are techniques used to create smooth, flush surfaces for screws or bolts, ensuring the screw heads sit perfectly into the material.
- Chamfering: This technique involves creating a tapered hole for the screw head, allowing it to sit neatly below the material surface, creating a clean, professional appearance. To chamfer, simply use a chamfer drill bit—this tool is specially designed for this purpose.
- Reaming: Reaming is used to create a flat-bottomed hole to accommodate screw heads. This method is particularly useful for larger screws or situations where bolts or nuts need to fit snugly. A reaming drill bit can create the flat bottomed hole required, often used in woodworking or metalworking when a screw needs to be flush with the material surface, or when the bolt head needs to be sunken into the hole.
Drilling at an Angle
Sometimes, drilling doesn’t have to be vertical—you may need to drill at an angle. Drilling at an incline can be tricky, but start by holding the drill at the desired angle and applying light pressure. Using a drill guide or angle clamp helps ensure the bit stays at the correct angle.
The key here is practice, so before starting your actual project, try drilling at a slight angle on scrap material to get comfortable with the technique.
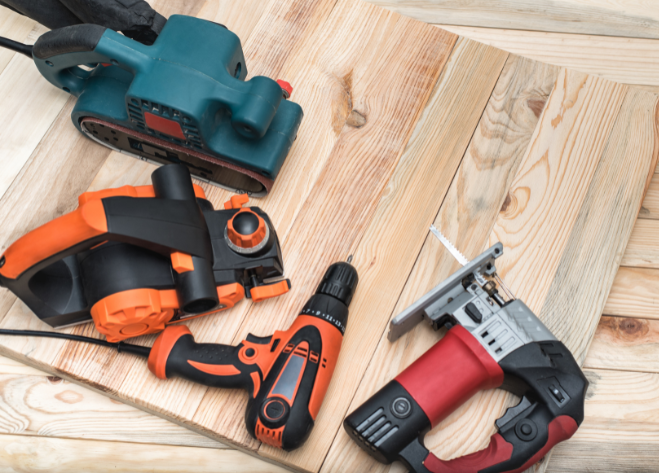
Using a Hole Saw Attachment for Larger Projects
For bigger holes, especially when creating openings for pipes, vents, or electrical wiring, a hole saw is an essential attachment for your drill machine. Hole saws come in various sizes and are suitable for drilling through wood, drywall, metal, and certain plastics.
Troubleshooting Common Drill Machine Problems
Even the best drill machine may run into issues. Knowing how to troubleshoot common problems will help keep your project on track and prevent unnecessary setbacks.
Overheating and How to Prevent It
Overheating is one of the most common issues when using a drill machine for extended periods. This can damage the drill machine and shorten its motor life.
To prevent overheating, avoid continuous drilling at high speeds for long periods. Pause between drilling to allow the motor to cool.
If you notice a decrease in performance, smell a burning odor, or feel excessive heat, stop and allow the drill machine to cool before resuming work.
How to Handle a Stuck Drill Bit
Sometimes the drill bit can get stuck, especially when drilling into harder materials. This usually happens due to debris buildup or applying too much pressure.
If the bit gets stuck, stop drilling immediately and reverse the drill to pull the bit out. If the bit remains stuck, gently wiggle it while applying reverse pressure. If that doesn’t work, check for debris or excessive friction and clear the bit.
To prevent bit jams, regularly clean the bit and work area, and ensure you’re using the right drill bit while applying steady, even pressure.
What to Do When the Drill Machine Stops Working
If your drill machine suddenly stops working mid-project, don’t panic. Follow these simple steps to identify and resolve the issue:
- Make sure the power cord of the drill machine is securely connected (for corded drills) or that the battery is fully charged (for cordless drills).
- Check the drill bit. A dull or damaged drill bit can cause the drill machine to stop working. Dull bits require more force, which could overload the drill machine. If the bit is worn or damaged, replace it.
- If both the power and bit are fine, the issue might be internal, such as an overheated motor or electrical problem. In this case, let the drill machine cool down or consult a professional for repairs.
Maintaining Your Drill Machine
Proper maintenance is essential for extending the life of your drill machine and ensuring it performs at its best every time.
Regular Cleaning and Lubrication
Dust and debris can build up over time and affect the performance of your drill machine. Regular cleaning ensures your tool stays in optimal condition.
- Wipe down the drill machine with a soft cloth. For stubborn dirt, use compressed air to clean out dust from the motor and chuck. Be careful not to let moisture or debris enter the motor.
- Periodically lubricate the chuck to keep it functioning smoothly. This will prevent rust and ensure that the bit stays securely in place while working.
Battery Care for Cordless Drill Machine
If you’re using a cordless drill machine, proper battery care is crucial for long-term stability.
- Avoid overcharging or letting the battery fully discharge. Charging when the battery is at 20-30% will help prolong its life.
- Store batteries in a cool, dry place. If you’re not using the drill machine for an extended period, remove the battery to prevent it from draining.
How to Store Your Drill Machine
When not in use, store your drill machine in a safe, dry location. A dedicated tool box or drill case can prevent dust, moisture, and accidental damage. Keeping your drill organized will help it stay in top condition for a longer time.
Conclusion
Now that you understand key drilling techniques and best practices, your skills will continue to improve with practice and experience.
If you haven’t yet purchased a drill machine or other power tools, consider exploring Kafuwell’s range of high-quality products. Our tools are perfect for tackling any project and offer great value, making them an excellent choice for distributors or hardware store owners looking to diversify their product offerings and stay competitive in the market.