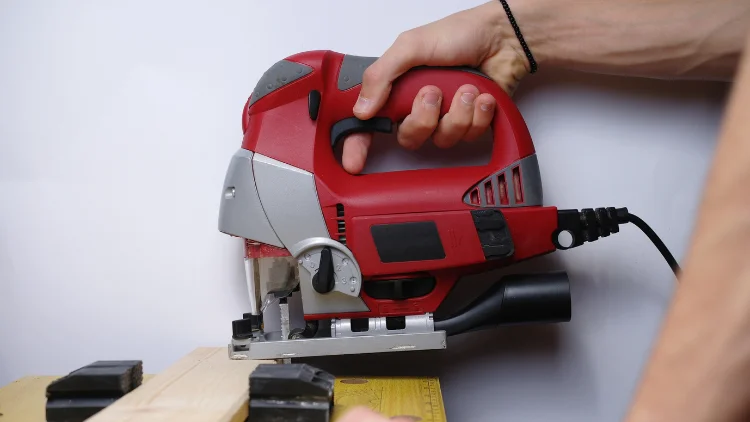
A jigsaw is a friendly first saw for home projects. It will make straight cuts when a circular saw feels too aggressive, and it excels at curves, interior cutouts, and bevels.
In this guide you will learn how to set up the tool, choose a blade that matches the job, select the right speed and orbital action, and use clear techniques for wood, plywood, plastics, and thin metal. The aim is safe work and clean edges with less rework.
Safety First
Wear safety glasses every time. Add hearing protection for longer sessions and a dust mask when cutting sheet goods or MDF. Clear the bench, improve lighting, and clamp the work so it cannot shift. Plan where your hands and the cutoff piece will go before you start. Keep the shoe flat on the surface while cutting. Support both sides of the kerf so the cutoff piece doesn’t break away. Let the blade stop completely before you set the saw down.
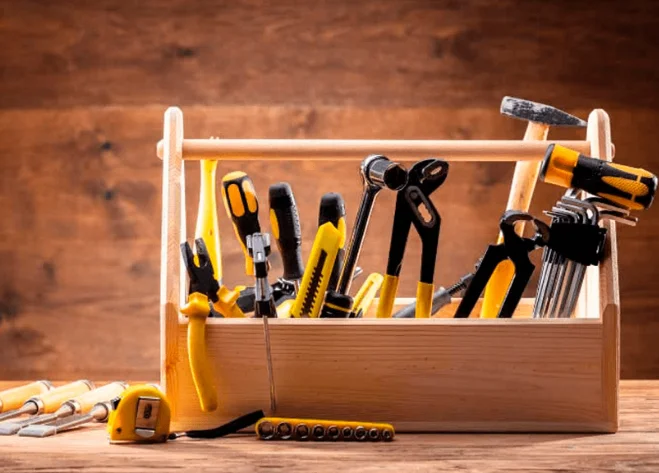
Know Your Jigsaw
Learn the parts so the settings make sense.
- Shoe. The flat base that rides on the work. Many shoes tilt for bevel cuts.
- Blade clamp. The quick-release holder for the blade. Most modern saws use a T-shank.
- Speed control. A dial, a variable trigger, or both. Slower is safer for hard materials and metal.
- Orbital-action selector. 0 gives a straight up-and-down motion for smooth cutting. Higher numbers add a forward stroke that speeds softwood cuts but can increase tear-out.
- Bevel gauge. Marks common angles such as 0°, 15°, 30°, and 45°.
- Dust features. A blower that clears the sight line, a port for a vacuum, and sometimes a splinter-guard insert.
- Optional guides. An edge guide or a circle-cutting jig for accuracy.
Blade Selection
The blade has more influence on the cut than the saw itself. Match it to the material and the finish you want.
- Shank style. T-shank is the current standard; U-shank is older.
- Blade material. High-carbon steel for softwood and plastics; high-speed steel for metals and harder woods; bi-metal for durability and mixed materials; carbide-grit for tile and very abrasive laminates.
- Teeth per inch (TPI). Coarse blades around 6–10 TPI cut softwood fast but leave a rougher edge. Fine blades around 14–24 TPI give cleaner edges and handle thin metals.
- Tooth direction and width. Standard up-cut teeth pull chips up. Reverse- or down-cut teeth keep the top face of plywood or laminate cleaner. Narrow blades turn tight curves more easily; wider blades track straighter on long lines.
- Length. Choose a blade at least about 25 mm (≈1 in) longer than the thickness of the work so the teeth clear the bottom on every stroke.
If you’re unsure, start with a medium-TPI bi-metal blade and test on a scrap from the same sheet. For hardwoods, prefer bi-metal or high-speed steel. If the top face splinters, switch to a reverse-tooth blade. If the blade wanders, try a wider or stiffer blade. If you see burning or melting, slow the speed and install a fresh blade.
Prep and Setup
Mark the cut line with a sharp pencil. For cabinet-grade plywood or melamine, score the line lightly with a utility knife and add painter’s tape on the finished face to limit splinters. Support the entire piece on a sacrificial backer board or dense foam. Clamp near the cut whenever possible.
Manage power safely. For a corded saw, route the cord over your shoulder or through a hook so it stays clear of the shoe. For a battery saw, confirm the pack is locked in place and consider a spare if you’ll cut for a long session.
Install the blade with the teeth facing forward and tug gently to confirm it’s seated. Set orbital action and speed for the material. Connect a vacuum if your saw has a dust port. If your shoe accepts an anti-splinter insert, snap it in for plywood and laminates. Fit an edge guide or clamp a straight board as a fence if you need a dead-straight cut.
Core Techniques
Straight cuts
Set the shoe on the work with the blade clear of the edge. Align the sight notch with your mark. Start the saw and let it reach speed while the shoe rests flat. Feed forward with steady pressure and watch the line rather than the blade. Leave a small buffer at the start and end of the cut so you’re not rushing into or out of the edge, which helps reduce breakout. For long straight cuts, ride the shoe along a clamped straightedge.
Curved and scroll cuts
Choose a narrow, fine-tooth blade. Set a lower orbital action and moderate speed. Make short relief cuts from the waste side into tight inside corners so the waste can fall away. Guide the front of the shoe and pivot the saw gently around curves. A practical rule: the smallest clean curve radius is about 3–5× the blade width. If the curve is tighter, switch to a narrower blade or make a series of small arcs and fair the edge later with a sander.
Bevel cuts from 0° to 45°
Loosen the bevel lock and tilt the shoe to the desired angle. Retighten and test on scrap. Place the saw so the lower edge of the tilted shoe is fully supported. Feed more slowly than for square cuts and stay on the waste side of the line. Bevels tend to wander if you push too hard; a wider, stiffer blade helps. On small pieces, add double-sided tape between the work and a backer board to prevent creeping under the tilted shoe.
Plunge cuts without a pilot hole
Hold the front of the shoe on the surface so the blade hangs clear. Tilt the saw forward. Start the saw and lower the back of the shoe gradually so the blade tips into the surface. Once the blade breaks through, level the shoe and continue. Practice on scrap first and keep hands clear of the underside.
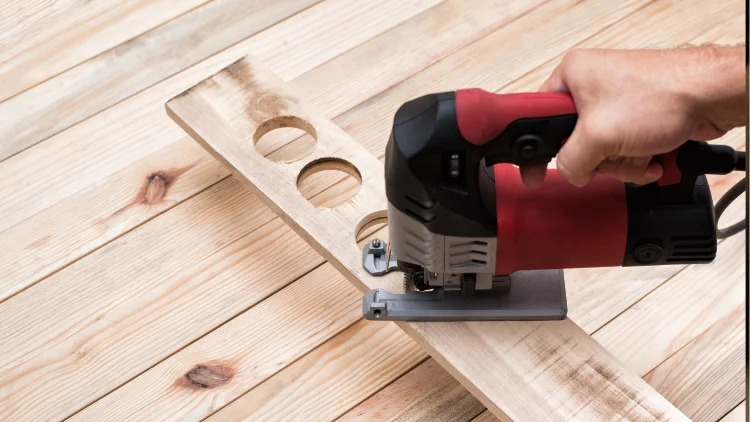
Cutouts for sinks, vents, and boxes
Drill a starter hole inside the waste near a corner. Insert the blade, cut to the next corner, and repeat. For neat square corners, drill all four corners first, then connect them with straight cuts. Support the cutout near the end so it doesn’t break away and tear fibers.
Material-Specific Settings and Tips
Softwood
Set speed to medium or high with orbital action around 2–3. A coarse 6–10 TPI blade clears chips fast. Add a backer board whenever the finished face matters, and keep the feed steady rather than forceful.
Hardwood
Set speed to medium and keep orbital action near 1. Pick a sharp, finer blade such as HSS or bi-metal. Slow the feed and let the teeth work; test often on scrap to avoid burn marks.
Plywood, MDF, and melamine
Use orbital action at 0 or 1 and a reverse-tooth blade. Score the line and tape the finished face. Support the sheet with a backer so the exit edge stays clean.
Laminate and countertops
Choose a reverse-tooth or carbide-grit blade. Run at slow speed with a gentle feed. When possible, cut from the back so any chipping stays hidden.
Aluminum and thin steel
Switch orbital action off and use slow speed with an 18–24 TPI HSS or bi-metal blade. Add a drop of cutting oil, support the sheet fully, keep the feed steady, and deburr with a file or deburring tool.
PVC and other plastics
Keep speed in the medium range with orbital action off and a fine-TPI blade. If the plastic starts to soften, pause to let it cool or reduce the speed.
Note: TPI means teeth per inch. Higher TPI generally gives a cleaner cut.
Clean, Splinter-Free Results
Clean edges come from the right blade, firm support, and patience. For plywood or laminates, use a reverse-tooth blade or install the splinter guard if your saw includes one. Tape the finished face and score the line so fibers break cleanly. Place a sacrificial backer under the piece so the teeth exit into wood rather than air. Hold a steady feed. After the cut, ease the edge with a sanding block at a shallow angle.
Troubleshooting and Common Mistakes
- Blade wander happens when the blade is too narrow for a long straight run, orbital action is too high, or you’re pushing too hard. Reduce orbital action, slow the feed, and choose a wider or stiffer blade.
- Tear-out on the top face comes from up-cut teeth that lift fibers. Use a reverse-tooth blade, tape and score the line, or flip the sheet so the finished face is underneath.
- Burn marks and melting point to a dull blade or excessive speed. Install a fresh blade, lower the speed, and add lubricant for metals.
- Chatter and vibration signal poor support or loose clamping. Add a backer board, clamp closer to the cut, and support both sides of the kerf.
Maintenance and Upgrades
Wipe resin off the shoe and blade clamp so the saw slides easily. Replace blades as soon as they dull or bend. Check the shoe for flatness after drops. Consider an edge guide for straight work, a circle-cutting jig for perfect arcs, a vacuum adapter for indoor cutting, and an anti-splinter insert for sheet goods. A no-mar shoe cover protects finished surfaces.
Quick-Start Checklist
- Choose the right blade for the material and finish.
- Mark, score, tape, clamp, and support the work with a backer.
- Set orbital action and speed, then test on a scrap.
- Keep the shoe flat and feed steadily while watching the line.
- Let the blade stop fully before setting the saw down.
- Dress the edge lightly with sandpaper or a file.
FAQs
Can a jigsaw cut perfectly straight without a guide?
Short cuts can be straight with practice, but a clamped straightedge or an edge guide gives much better results on long lines.
Which blade prevents splintering in plywood?
Use a reverse-tooth blade or an anti-splinter insert. Add tape and scoring for an even cleaner top face.
How thick can a jigsaw cut in wood or metal?
Most homeowner models handle about 30–50 mm (≈1¼–2 in) of softwood with the right blade and a steady feed. Thin aluminum and thin-gauge steel are fine with a fine-TPI blade. Thick plate isn’t a good fit.
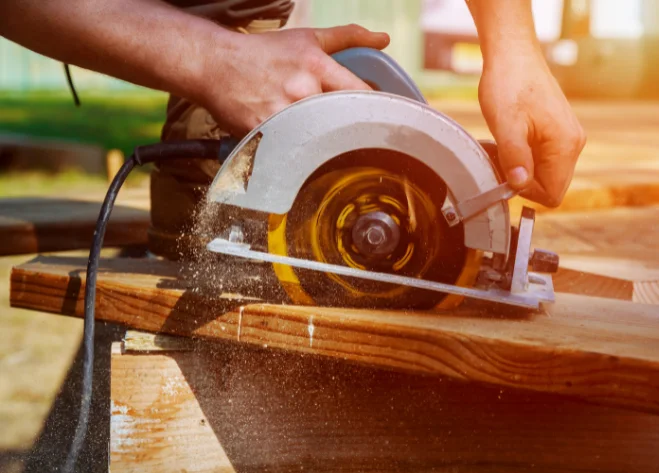
Should I buy a jigsaw or a circular saw first?
Choose a circular saw if you mostly cut sheet goods in long straight lines. Choose a jigsaw if you need curves, interior cutouts, and mixed materials.
How do I do a plunge cut safely?
Place the front of the shoe on the work with the blade clear, start the saw, then lower the back of the shoe until the blade enters. Keep hands away from the underside and practice on scrap first.