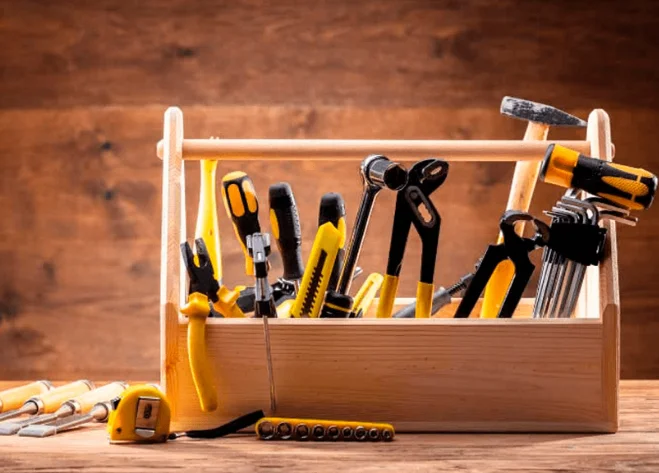
A hammer drill is a go-to tool for anyone working with tough materials. It’s built to power through surfaces that a regular drill can’t handle. Whether you’re hanging shelves or running wiring, it’s good to know which jobs call for a hammer drill and which do not.
This guide clears up which materials a hammer drill can tackle and why choosing the right tool matters. You’ll get a clear idea of what a hammer drill does best, so you can work smarter and protect your equipment. If you want strong, safe results, let’s break down what this tool can and can’t drill.
What Is a Hammer Drill and How Does It Work?
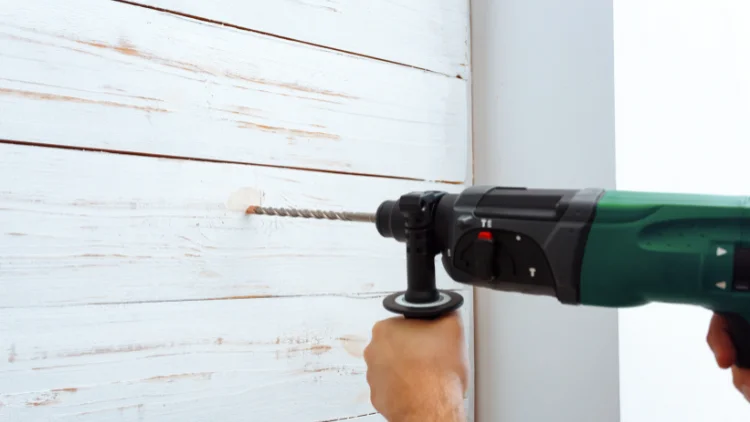
At first glance, a hammer drill looks much like any standard drill. However, the real magic happens inside. The key feature is its ability to combine spinning with a rapid tapping motion. This movement pushes the bit forward as it rotates, chipping away at hard surfaces bit by bit.
The rotary action spins the drill bit, just like a normal drill.
At the same time, the hammer action moves the bit in and out quickly, producing a pounding effect.
This double action means the bit can bite into materials like brick and concrete, breaking them apart as it spins. Regular drills skip this hammering step, which is why they stall or overheating when faced with dense surfaces.
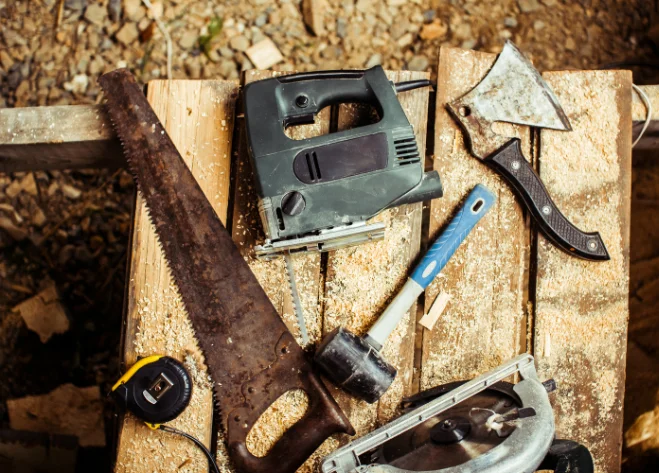
Materials Commonly Drilled with a Hammer Drill
Choosing the right tool for the job starts with knowing what a hammer drill can handle without causing damage or wasting effort. Hammer drills shine when used with specific materials, but switching the drill mode can open up more options. Here’s a close look at the most common materials you might encounter and best practices for each.
Concrete and Masonry
Hammer drills are the first pick for concrete and masonry because they combine rotation with a pounding effect. This motion lets you cut through tough surfaces by breaking up the rock and mortar as you drill, carving a path that would stop a standard drill cold.
Common masonry materials that a hammer drill powers through include:
Concrete slabs and poured walls
Brick (both solid and veneer)
Cement blocks (like cinder block)
Natural stone (granite, limestone, sandstone)
Mortar joints
Why does this matter? Regular drills tend to overheat and struggle, but a hammer drill’s punch clears away debris and pushes the bit deeper with less strain. Always use a masonry bit and start with moderate speed to keep the bit cool and sharp.
Ceramic Tiles and Stone Tiles
With the proper bit, a hammer drill can tackle ceramic and stone tiles, but this job needs care. Tiles are hard yet brittle, and too much impact can crack them apart. For best results, turn off the hammer action. Let the rotary mode do the work with a sharp carbide-tipped or diamond bit.
Tips for drilling tiles:
Mark the spot with masking tape to prevent slipping.
Start with light pressure and a slow speed.
Keep water nearby to cool the bit and control dust.
Only use hammer mode if you’re drilling into the backer board or masonry behind the tile.
Stay patient and steady. Rushing with a hammer setting on tile is a fast way to break your material.
Light Metals and Sheet Metal
A hammer drill can work on metals like aluminum, thin steel, or sheet metal—just stick to rotary mode. The hammering motion isn’t needed here, since metal isn’t brittle like concrete or tile. In fact, using the hammer setting on metal just wears out your bit and may even deform soft materials.
When to use a hammer drill for metal:
Drilling pilot holes in metal studs or brackets.
Making holes in thin sheet metal, pipes, or gutters.
Best practices:
Use a metal-specific bit, like high-speed steel (HSS).
Mark your spot with a center punch to avoid bit wandering.
Apply cutting oil for smoother holes and longer bit life.
Hammer mode on steel or aluminum does more harm than good and should be avoided.
Soft and Hard Woods
While hammer drills can drill through wood, hammer mode is unnecessary and even risky for most jobs. Reserve the tool’s rotary-only setting for wood projects, treating the drill just like any standard model.
There are times when a hammer drill is the only tool you have, but you still want to protect your material. Too much force can splinter soft woods or gouge the surface, especially near edges.
When to use a hammer drill on wood:
Boring large holes with spade or auger bits.
Drilling through hardwoods that need a bit more muscle.
Occasional general-purpose jobs when a regular drill isn’t available.
Important warnings:
Never engage hammer mode on wood, as the pounding can crack or split boards.
Always use a wood drill bit for the cleanest results.
Start slow to avoid damaging the surface.
Treat wood projects with care and stick to rotary action for smooth, safe results.
By understanding which materials mesh well with each mode on your hammer drill, you get cleaner holes, less tool wear, and jobs that go right the first time.
Materials Not Suitable for Hammer Drilling
Not every material gets along with a hammer drill’s powerful hitting action. While these tools shine on concrete and stone, some surfaces just can’t handle the stress. Using the wrong drill—and the wrong setting—can ruin your project and sometimes your tool. Let’s call out the main culprits you should avoid.
Glass and Delicate Surfaces
Hammer drilling on glass is a recipe for disaster. Glass looks solid but acts like a brittle shell. When hit with the percussion of a hammer drill, it reacts by cracking or shattering almost instantly.
Why Avoid Hammer Drills on Glass?
The pounding action produces rapid vibrations and shock waves that glass can’t handle.
Even a short pulse of hammer action can cause hairline cracks that ruin the piece.
If the bit snags or slips, it could shatter the entire pane or send shards flying.
Mirrors, stained glass, and decorative panels are especially risky. Any fragile tile, porcelain, or glazed ceramic faces similar danger. If you need to make a hole, reach for a specialized glass or tile bit and stick to slow, steady spinning—no hammering. Protect the surface with tape, go easy on the pressure, and use plenty of patience.
Bottom line: Hammer action and glass do not mix.
Plastic and Laminates
Most plastics and laminated boards are no match for a hammer drill’s impact. Unlike masonry, plastic flexes or melts with friction and force. Hammering can break, warp, or tear these materials in seconds.
Here’s what’s at risk when you use a hammer drill on plastics or laminates:
Splitting and Cracking: The oscillating force can cause thin plastics and veneer layers to split apart.
Melting: Most plastics soften at lower temperatures. The high-speed bits and pounding friction create enough heat to deform soft plastic edges.
Chipping and Delaminating: Laminated countertops, floors, or panels can chip, peel, or bubble if hit by the hammer mode. This leaves the material weak or unsightly.
Common trouble spots are acrylic panels, PVC pipes, laminate flooring, and plastic wall plates. Always turn off hammer action and choose a sharp bit made for plastic or wood. Pilot holes help prevent splitting, and steady, gentle pressure goes a long way.
Using a hammer drill on these softer materials is like bringing a sledgehammer to repair a watch—way too much force and a bad fit for the job. Stick to rotary only, or reach for a regular drill instead.
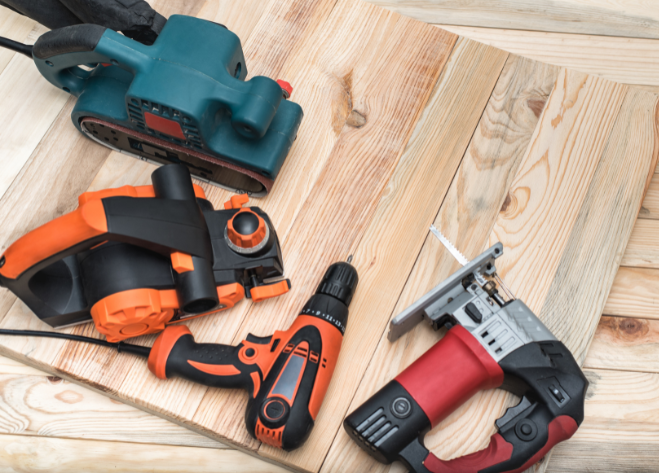
Tips for Optimal Drilling Performance
Getting the most out of your hammer drill takes more than just picking it up and pulling the trigger. Drilling different materials means paying attention to your technique, using the right accessories, and always staying safe. By following a few key tips, you’ll save time, make cleaner holes, and prevent damage to both your material and your equipment.
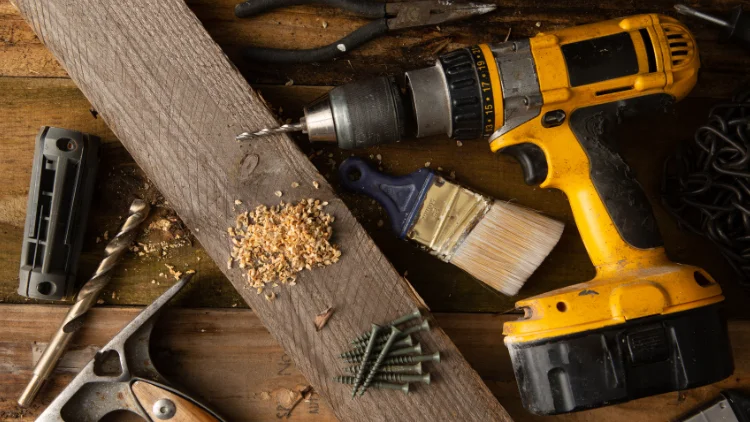
Choosing the Right Drill Bit
Not all drill bits are created equal, and the bit you choose can make or break your drilling experience. Each material needs its own bit style and tip.
Masonry Bits: These have a carbide tip and are designed for brick, stone, concrete, and mortar. Look for a chisel-shaped cutting edge.
Tile and Glass Bits: Use a spear-point or diamond-tipped bit for tiles and natural stone. Avoid hammer mode on brittle materials.
Metal Bits: High-speed steel (HSS) bits work well for aluminum, mild steel, and sheet metal. Use a cobalt bit for tougher alloys.
Wood Bits: Choose spade bits for large holes, brad point bits for clean entry holes, and auger bits for deep drilling in hardwood.
Multi-Material Bits: Some modern bits are built to handle a range of tasks. Read labels to confirm if they really fit your job.
It helps to double-check the package before starting. Using the wrong bit risks burnt tips, slow progress, or shattered tiles.
Adjusting Drill Settings
Hammer drills come with different settings to let you fine-tune your approach. Matching the mode and speed to the material sets you up for the best results.
Rotary plus Hammer: Turn on for concrete, stone, and masonry. The dual action is what lets you break through tough surfaces.
Rotary Only: Use this for wood, metal, tiles, plastics, and laminates. Hammering action on these materials usually causes damage.
Variable Speed: Start slow, especially on hard or brittle materials, then increase speed as the bit finds its path.
Many hammer drills have a switch that’s easy to overlook. The extra minute checking your mode is worth more than hours repairing work.
Safety and Handling Tips
Power and safety always go together. Drilling creates plenty of dust, debris, and the risk of kickback. Smart habits make a big difference:
Eye Protection: Always wear safety glasses. Even the smallest job can send chips flying.
Firm Grip: Hold the drill with both hands and set your feet. Expect a powerful jolt when the bit bites into concrete or stone.
Bit Cooling: Drilling continuously heats up your bit. For tile or glass, drip water on the bit. For metal, use oil. Take short breaks to let things cool.
Drill Pilot Holes: For large or deep holes, start with a small pilot hole. This guides your bit and reduces wandering or chipping.
Secure Material: Clamp down the piece or have a friend hold it steady. Loose material leads to slips or crooked holes.
Check Surroundings: Know what’s behind your drilling area—wires, pipes, or voids can cause surprises.
Cord Management: Watch out for the cord if you use a corded drill. Tripping can ruin your project and hurt you.
Sometimes the best results are all about slowing down and keeping control. Rushing through tough materials with the wrong bit leaves rough holes and worn-out tools.
When to Replace Your Bit
A sharp bit is your best friend in drilling. Dull or damaged bits make the job slow, cause slipping, and can ruin your hole.
Look for these signs that you need a new bit:
Bit tip is rounded or shiny instead of sharp
Chip speed slows even with strong pressure
Burn marks, smoke, or odd grinding noises
Bits are much cheaper than ruined materials or lost time, so don’t hesitate to swap them out.
Quick Checklist for Better Drilling
Keep these basics in mind before every drilling job:
Select the correct bit for the material.
Set the drill mode to match the job.
Secure your work and mark the spot to start.
Wear proper safety gear—eyes and hands protected.
Start with low speed and gentle pressure.
Keep bits cool to avoid burns or breakage.
Stop if something feels wrong.
Drilling is simple, but doing it well takes a bit of extra thought. By setting yourself up right from the start, you’ll get smoother holes and keep your hammer drill running like new.
Conclusion
A hammer drill is a powerful, flexible tool that opens up all kinds of possibilities for DIYers, homeowners, and professionals alike. The key to getting great results—and avoiding disasters—is knowing exactly what materials it can (and can’t) tackle, and making sure you have the right bit, settings, and technique for each job.