Have you ever felt confused when looking at the numbers on your cordless drill? Understanding these numbers can help you use your drill more precisely, preventing stripped screws or material damage. This article will explain these numbers in a clear and simple way, helping you choose and use your drill more effectively.
Recognizing the Numbers on a Power Drill
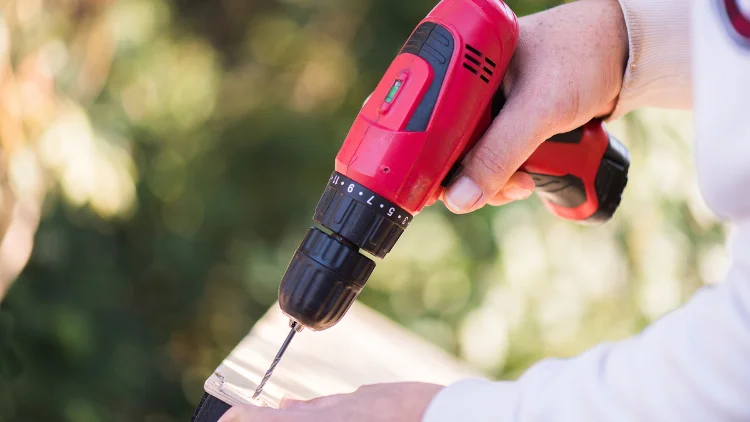
The numbered dial on a drill adjusts the amount of torque applied. But what is torque? Simply put, torque is the force your drill uses to turn screws or drill bits—it’s the “strength” your drill applies while working. The numbers on the dial represent different torque levels:
- Lower numbers : Less power, suitable for delicate materials or small screws.
- Higher numbers : More power, ideal for tougher materials or larger screws.
Most drills also have a clutch, which stops the drill when the set torque is reached, preventing over-tightening that could damage screws or materials.
Setting the Right Torque
Choosing the correct torque setting is crucial.
- Too low – The screw won’t fully drive in.
- Too high – The screw head might strip, or the material could get damaged.
A good approach is to start with a low setting and gradually increase it until the screw drives in smoothly.
Pre-Drilling for Better Results
Pre-drilling creates a guide hole, making it easier to drive screws and reducing the risk of wood splitting.
- If the material still cracks, try using a slightly larger drill bit.
- Hold the drill at 90 degrees to the material and apply light pressure.
- Start slowly to create a small indent before drilling deeper.
Understanding Torque Settings
Remember: the higher the number, the greater the torque. The best setting depends on the screw size, material hardness, and required depth. Test different settings to find what works best.
General Torque Guidelines
Test your settings on scrap material before starting your project:
- Drywall: 1 – 3
- Softwood: 4 – 6
- Hardwood: 7 – 9
Drill Settings and Speed Selection
Most drills have multiple speed settings, usually two or three gears:
- Low speed, high torque (Gear 1): Best for driving screws.
- High speed, low torque (Gear 2): Best for drilling holes efficiently.
If you’re drilling, switch to drill mode—this disables the clutch, allowing maximum torque and speed.
Some drills also have a hammer mode, designed for masonry and concrete. This mode mimics a hammering action to help penetrate hard materials. If you frequently work with brick or concrete, consider a drill with a hammer function.
Proper Use of Drill Modes: What Not to Do
Never use drill mode for driving screws! This mode bypasses the clutch and applies full torque, which can lead to:
- Stripped screw heads
- Damaged materials
- Screws sinking too deep with no way to adjust
Drill mode is for drilling holes only, not for driving screws.
Tips for Finding the Perfect Torque Setting
Finding the right torque setting takes practice, but these tips will help:
- Start low and increase gradually – Avoid starting with high torque.
- Test on scrap material – This helps prevent mistakes on your actual project.
- Listen to your drill – If it struggles, increase torque. If screws strip, lower the torque.
- Consider screw size – Larger screws typically need higher torque settings.
Conclusion
For any DIY enthusiast, understanding drill torque settings is essential. It allows you to work with different materials efficiently while preventing damage. Choosing the right torque and speed settings will improve your accuracy, protect materials, and extend the life of your power drill.