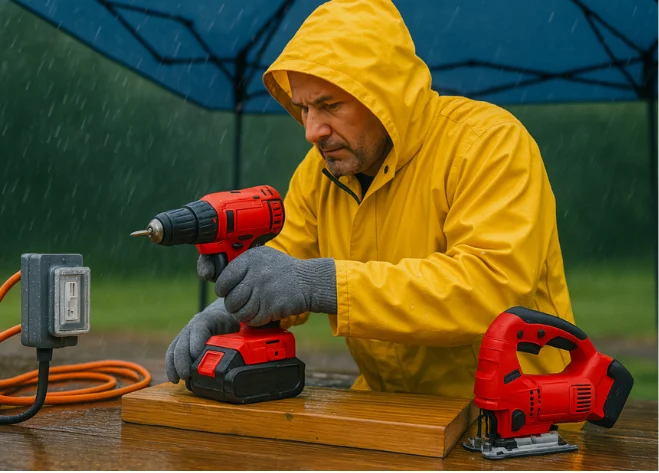
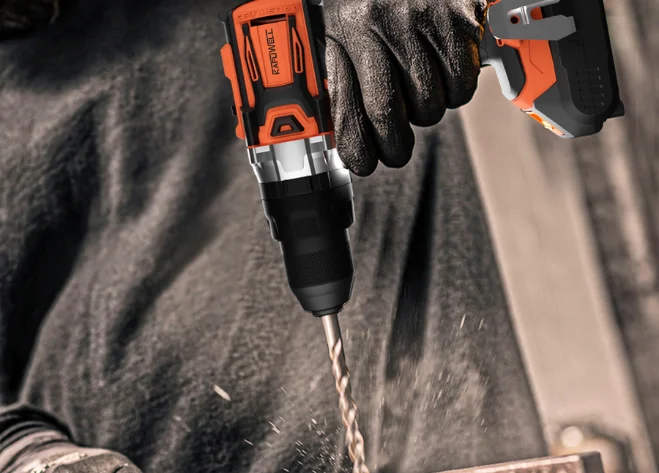
Is your cordless drill not performing as it used to? Perhaps it’s lost some power, sounds a bit rough, or is slow to respond when you release the trigger. If so, don’t discard it just yet! You might simply need to replace the carbon brushes to restore its functionality.
In this guide, we’ll walk you through the process of replacing the carbon brushes in your cordless drill.
Signs Your Drill’s Carbon Brushes Need Replacement
Carbon brushes are small components inside the drill’s motor that conduct electricity to the rotating parts. Over time, these brushes wear down, leading to performance issues. Here are some signs to watch for:
- Reduced Drill Speed: Even with a new battery, does your drill no longer spin as quickly as it once did?
- Unusual Noises: Does it sound rough or noisy during operation?
- Brake Issues: Does the chuck take longer to stop after releasing the trigger, or doesn’t stop at all? A healthy drill should cease almost immediately when the trigger is released.
Step-by-Step Guide to Replacing Your Drill’s Carbon Brushes
Gather Your Tools and Materials
Before starting, ensure you have the following:
- Your cordless drill
- New carbon brushes (ensure they’re compatible with your drill model)
- Phillips-head screwdriver (appropriately sized for your drill’s screws)
- Small flat-head screwdriver
- Pliers (optional, but helpful for tightening wire connections)
- Replacement wires (optional; some brush kits include these)
Using the correct screwdriver size is crucial. Using an incorrect size can strip the screw heads, complicating the process.
Disassembling the Drill
First, access the internal components of your drill to locate the brushes. The position of these brushes can vary depending on the drill model.
Typically, you’ll need to remove all screws on the side of the drill’s housing. These screws are usually located on the side or back of the drill. Some newer models have separate panels that can be removed by unscrewing a few screws.
If you choose to use a power drill to remove the screws, exercise caution. It’s easy to strip the screw heads if not careful. If you do use a power drill, set it to a low torque setting and use the correct size and type of bit.
Locating the Brushes
After removing all screws, gently separate the two halves of the drill’s housing. Observe how the components fit together to ensure correct reassembly later.
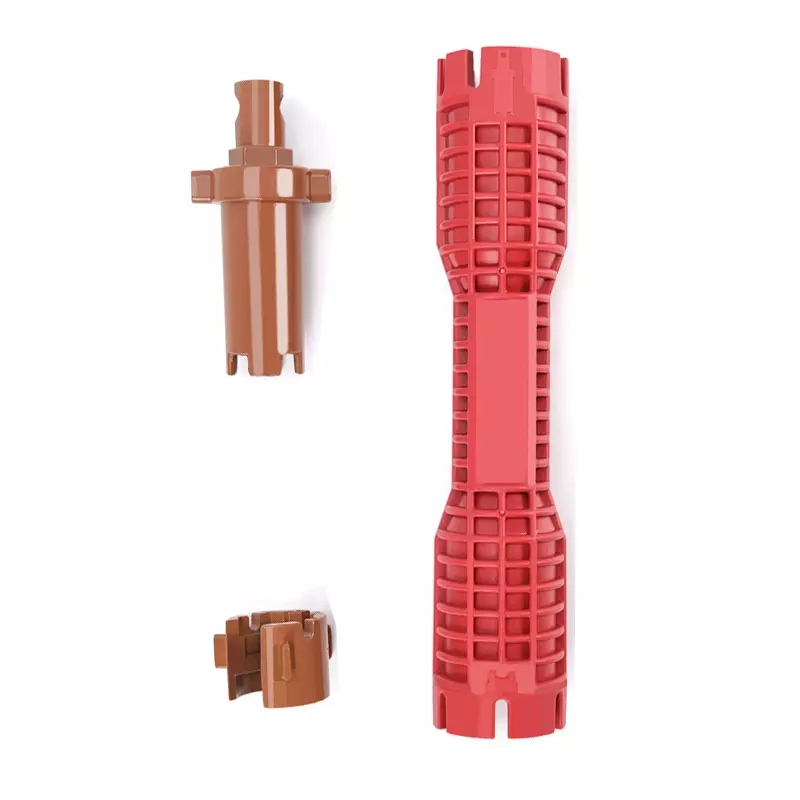
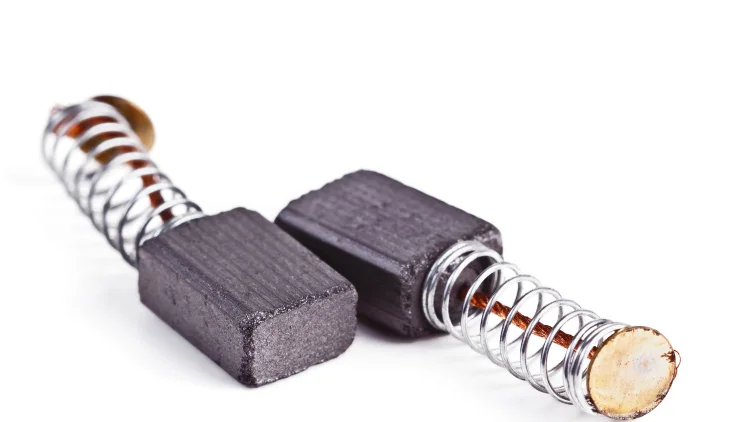
The brushes are typically located near the motor, often in small compartments or holders. Look for small rectangular blocks connected by wires.
Removing the Old Brushes
Now, you’ll see the brushes themselves. Carefully examine how they’re secured. Some drills use clips, while others use screws or other fasteners. Metal parts are often soft; handle them gently to avoid bending.
If you encounter difficulty removing screws, you can use a small flat-head screwdriver to gently pry up the backplate, facilitating the removal of the old brush. Be mindful of any small components, such as springs, behind the brush.
Comparing the new and old brushes, you’ll likely notice a significant difference in length. The old brushes will be much shorter due to wear from use.
Installing New Brushes
Begin by inserting the new brushes. Pay attention to their orientation. Ensure the new brushes are positioned the same way as the old ones. Then, snap the new brushes into place. Ensure the spring (if present) is correctly positioned behind the brush.
Use clips, screws, or other fasteners to secure the brushes in place. This step can sometimes be a bit tricky, so take your time.
You might encounter obstacles such as trigger guards or tight spaces that make accessing the brush holder challenging. If so, try gently moving or removing these obstacles to gain better access.
Reassembling the Drill
Carefully reassemble the drill housing, ensuring all wires are correctly connected and nothing is pinched.
Finally, align the other half of the drill housing with the internal components and reattach all screws. Ensure each screw is tightened securely, and the housing is firmly closed. After assembly, it’s advisable to perform a no-load test to confirm all parts are correctly installed and the drill operates smoothly.
What If the Drill Still Doesn’t Work After Replacing the Brushes?
If issues persist after replacing the brushes, consider the following:
- Check Connections: Ensure all wires are properly connected and there are no loose connections.
- Verify Brush Placement: Double-check that the brushes are fully seated in their holders and that springs are correctly positioned.
- Consider Other Potential Problems: If the drill still doesn’t function, there might be other issues, such as a faulty switch or motor damage.
Conclusion
Replacing the carbon brushes in your cordless drill is a straightforward method to restore its power and performance. While it may seem a bit daunting at first, by carefully following these steps, you can undertake the task yourself, saving money and extending the life of your tool. Moreover, the satisfaction of repairing your own equipment is rewarding.
If you find replacing the brushes too cumbersome, consider exploring Kafuwell‘s line of brushless power tools. These tools offer higher efficiency, more stable power output, and longer service life, significantly reducing maintenance costs and downtime.
learn more: Brushless vs Brushed Motor: What’s the Difference?