Changing a drill bit may seem like a small task, but it’s an essential skill every DIY enthusiast or professional should know. This guide will show you how to change a drill bit safely and efficiently, ensuring your projects go smoothly.
Step-by-Step Guide to Changing a Drill Bit
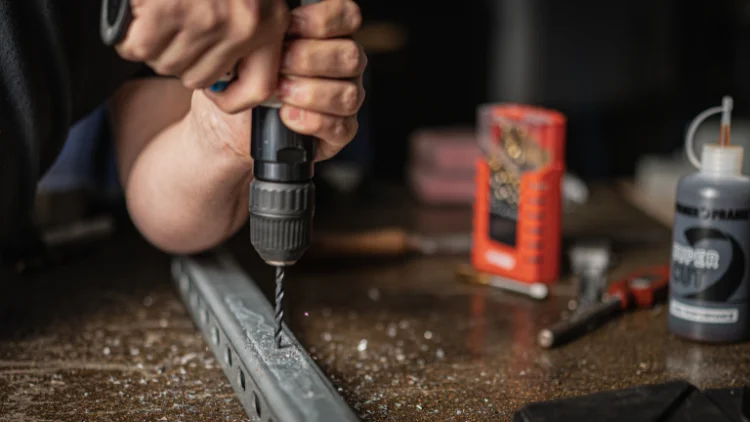
Changing a drill bit is a simple task, but it’s important to follow the right steps to ensure the job is done safely and correctly. With just a few quick movements, you can have your new bit in place and ready to go. Let’s walk through the process.
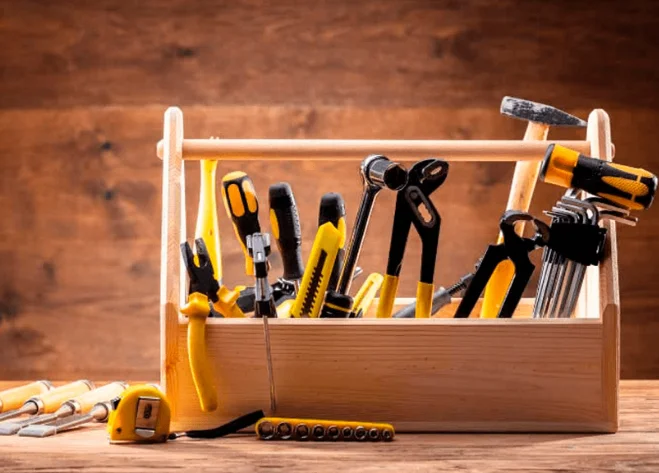
Gather Your Tools
Before you start, make sure you have everything you need: a new drill bit, a wrench (if necessary), and safety gear like gloves and goggles. Even though changing a drill bit is relatively safe, it’s always a good idea to wear protective gear to avoid any accidents.
Disconnect the Drill from Power
Whether you’re using a corded or cordless drill, always disconnect the power before changing the bit. If you’re using a cordless drill, remove the battery. This ensures that the drill won’t start unexpectedly while you’re handling the bit.
Loosen the Chuck
The chuck is the part of the drill that holds the bit in place. Most drills have a keyless chuck that you can loosen by simply turning it counterclockwise. If your drill uses a chuck key, insert the key into the hole and turn it to release the bit.
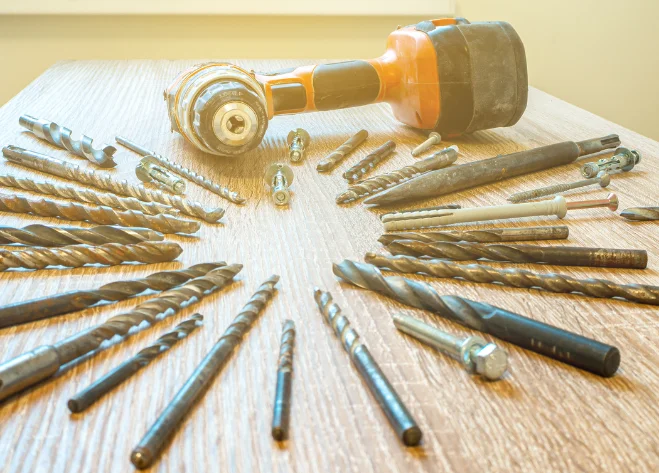
Remove the Old Bit
Once the chuck is loose, gently pull out the old drill bit. Be careful, as it may be hot or have sharp edges. Set it aside in a safe place for disposal or sharpening if necessary.
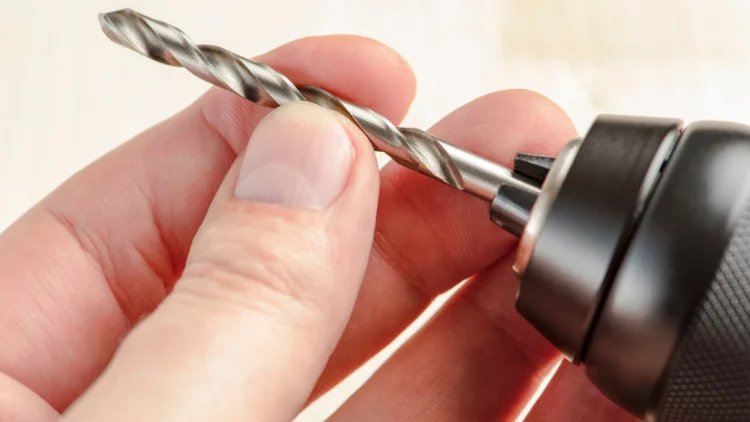
Insert the New Bit
Take your new drill bit and carefully slide it into the chuck. Make sure it’s properly aligned. For most drills, you’ll want to push the bit in until it’s fully seated at the back of the chuck. If you’re unsure, double-check that the bit is straight and secure.
Tighten the Chuck
Once the bit is in place, turn the chuck clockwise to tighten it. Make sure it’s secure, but avoid over-tightening, as this could damage the chuck or the bit.
Test the New Bit
Before getting back to work, give the drill a quick test run. Hold the drill securely and briefly engage the trigger to make sure the bit is properly secured and running smoothly.
learn more: Comprehensive Guide to Using a Drill Machine
Common Mistakes to Avoid When Changing a Drill Bit
Changing a drill bit may seem simple, but there are a few common mistakes that can lead to frustration or even damage to your tools. Here’s what to watch out for.
Over-tightening or Under-tightening the Chuck
It’s important to tighten the chuck just enough to hold the bit securely without overdoing it. Over-tightening can cause the chuck to become damaged or make it difficult to change the bit next time. On the other hand, under-tightening can result in the bit slipping or falling out while you’re drilling.
Not Aligning the Bit Properly
Make sure the drill bit is fully seated and aligned in the chuck. If the bit is crooked, it can cause it to wobble, making drilling harder and less accurate. Double-check that the bit is straight and centered before tightening the chuck.
Using the Wrong Type of Bit
Ensure you’re using the correct type of drill bit for the material you’re drilling. Using a bit designed for wood on concrete or metal can damage the bit and result in poor performance. Refer to the drill bit packaging or your project requirements for the right choice.
Maintaining Your Drill Bits for Longevity
To get the most out of your drill bits and ensure they last longer, proper maintenance is key. A little care can go a long way in keeping your bits sharp and ready for any job.
Cleaning Your Drill Bits
After each use, clean your drill bits by wiping them down with a cloth to remove any debris, dirt, or residue. You can also use a wire brush or mild cleaning solution if necessary. Keeping the bits clean helps prevent them from rusting and ensures they perform well next time.
Sharpening Your Drill Bits
If your drill bits are getting dull, you can sharpen them yourself or have them professionally sharpened. Some drill bits can be resharpened several times before they need to be replaced. Regularly checking the sharpness of your bits and sharpening them when needed will keep them in good working order and extend their life.
Proper Storage
Store your drill bits in a dry place to prevent rust. Using a drill bit organizer or case will keep them separated and protect the tips from damage. If you’re storing bits for an extended period, consider using a rust inhibitor to further protect them.
Conclusion
Changing a drill bit is a simple task, and with just a little practice, you’ll be able to do it like a pro.
FAQS
How to Tell if a Drill Bit is Worn Out?
A worn-out drill bit typically shows several signs:
Slower Drilling: If the bit is taking longer to drill through materials or struggles to penetrate even soft materials, it’s likely dull.
Burn Marks or Smoke: Overheating from prolonged use or excessive friction can cause burn marks on the bit or create smoke. If this happens, the bit is losing its sharpness.
Visible Damage: Chips, cracks, or bent edges on the bit are clear indicators that it’s worn out and should be replaced.
Poor Performance: If the drill bit produces uneven, rough holes or wobbles in the chuck, it’s probably not performing as it should.
What Causes Drill Bit Wear?
Drill bits wear out for several reasons, including:
Material Hardness: Drilling into hard materials like concrete, metal, or brick causes more wear on the bit compared to softer materials like wood or plastic.
High Speed and Pressure: Drilling at excessive speeds or applying too much pressure can overheat the bit, causing it to dull faster.
Improper Use: Using the wrong type of bit for a material, like using a wood drill bit on metal, can cause premature wear.
Lack of Cooling: Not using cutting oil or lubrication when drilling into metal can lead to overheating and faster wear.
Repetitive Use: Constantly using a bit without sharpening or maintaining it will eventually cause it to lose its edge.
How Do I Know Which Drill Bits to Use?
Choosing the right drill bit depends on the material you are drilling. For example:
Wood bits have a sharp point to center the drill.
Masonry bits are designed with a carbide tip for concrete or brick.
Metal bits have a twist design and may need lubrication to reduce heat.
Tile bits have a carbide-tipped or diamond-coated head for drilling ceramic or stone.
How Do I Choose a Drill Bit Set?
When selecting a drill bit set, here are a few things to consider:
Material of the Set: Ensure the bits are made from high-quality materials like high-speed steel (HSS), cobalt, or titanium coating. These materials last longer and are more durable, especially for tougher drilling tasks.
Types of Bits Included: Choose a set that includes the bits you’ll actually use. A general set might include various wood, metal, and masonry bits, but if you work with specific materials, make sure the set includes the right bits for your needs (e.g., a set for woodworking or masonry).
Bit Sizes: Ensure the set has a good range of sizes. Larger sets with different diameters and lengths will give you more flexibility for a variety of projects.
Storage Case: A good drill bit set will come with a sturdy case for easy organization and quick access. Look for sets that help prevent bits from getting lost or damaged.
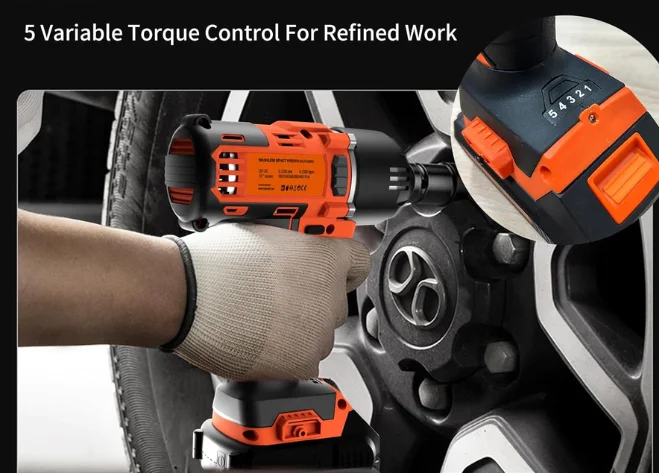
What Are the Settings on a Drill Machine?
Drill machines (especially power drills) typically come with a few key settings that help control how the tool performs:
Speed Settings: Many drills have adjustable speed settings. Higher speeds are generally used for drilling into softer materials, while lower speeds are more suited for harder materials or when more torque is needed.
Torque Settings: This controls how much rotational force the drill applies. It’s usually adjusted using a clutch on the drill. Higher torque is better for tougher materials, while lower torque is ideal for lighter materials to avoid stripping screws or damaging the workpiece.
Forward and Reverse: The forward/reverse switch allows you to change the direction of the drill bit. Forward is used for drilling or driving screws, while reverse is used to remove screws or back out of drilled holes.
Hammer Function: Some drills, known as hammer drills, have an additional setting that combines rotary motion with a hammering action. This is especially useful for drilling into masonry, concrete, or brick.
Locking Mechanism: Some drills have a locking feature to keep the chuck from spinning freely when not in use, helping to prevent accidental changes.